Don’t you take a shower or bath EVERY DAY! A healthy and good smelling hen NEEDS to take a dust bath on a regular basis. If your bird stinks, it’s likely that she doesn’t have access to a dust bath. If she doesn’t have access to a bath, it’s more likely that your flock will carry lice and mites.
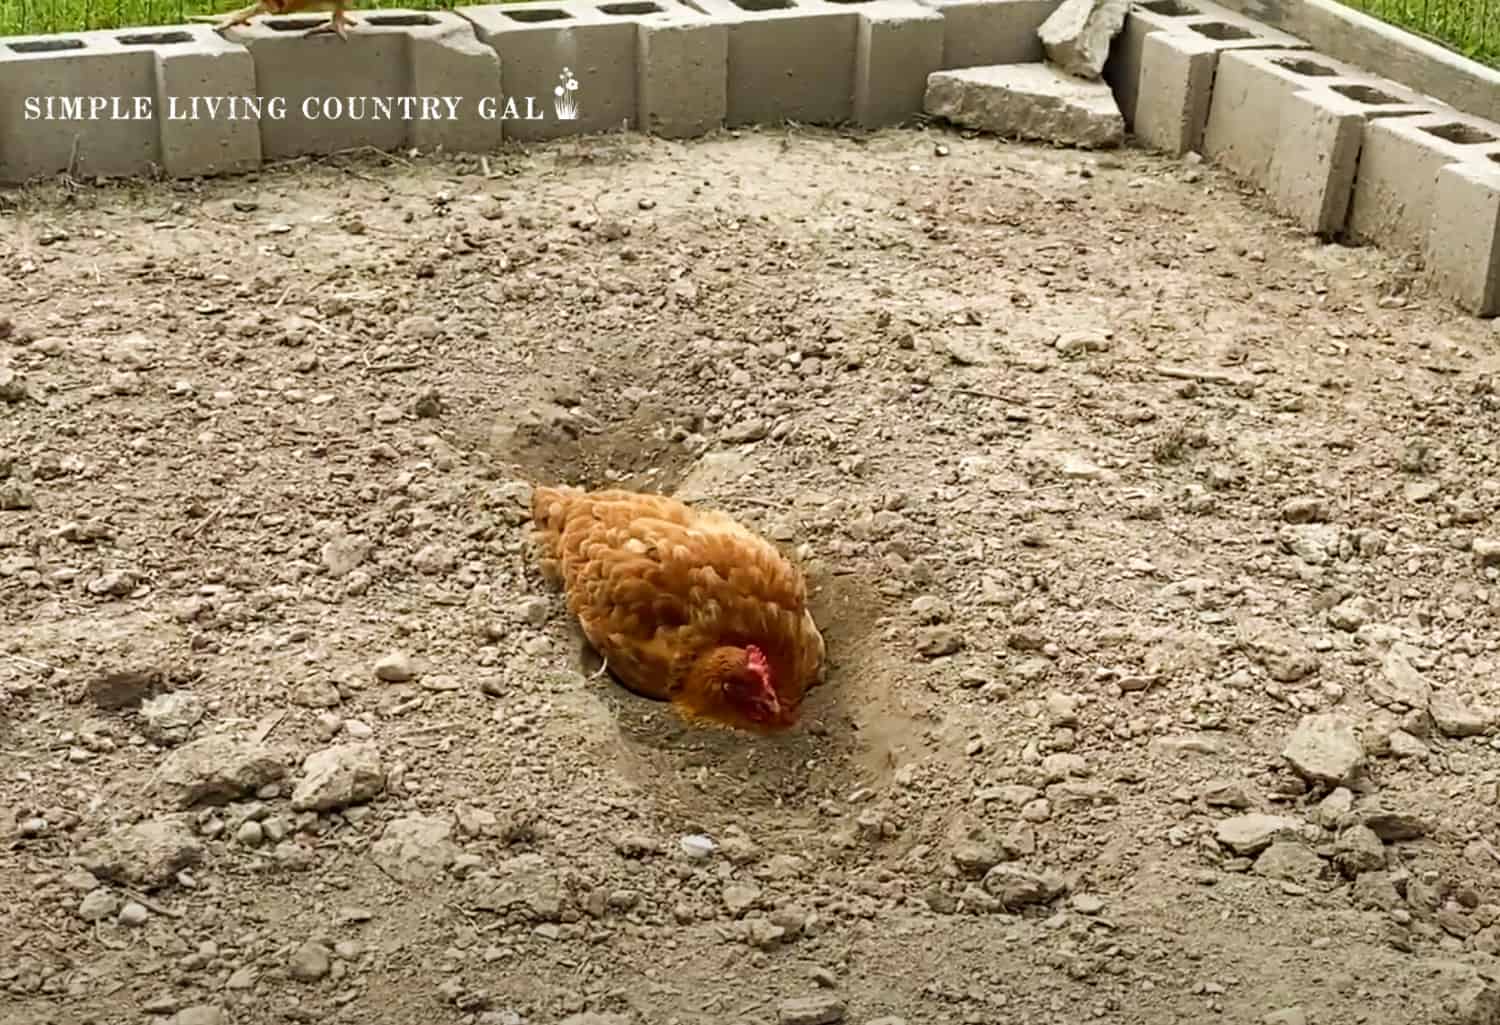
For people who have seen chickens dust bathe, I think you’ll agree that it’s not only funny, but it also shows how happy your hens are. Birds will try to get as much “dirt” as possible on their bodies, all the way down to the base of their feathers, when they dust bathe. In turn, this cleans the chicken (see list of ingredients below) and kills any bugs that might try to eat them.
If you let your hens free range and DON’T provide a dust bath in the coop/run, I guarantee that they WILL make a dust bath where your favorite plants are growing. If you do not let your hens free range, or they are limited to free ranging because of Winter conditions, than it is essential that they have access to a dust bath. The need is ingrained in their behavior and essential to their personal health. So…… why not build a dust bath in your chicken run?
In order to get started, you will need a container for the dust bath. I only have 3 hens and an old apple crate that is around 12 “deep, 15″ wide and 24” long works well for this application. If you have a larger flock, you will need a larger container. I’ve seen kiddy pools used for this purpose and they appear to work well.
Next, you are going to need to fill the dust bath with 4 essential ingredients. The 4 ingredients that you will need are:
1) Builder’s sand (don’t waste your money on the more expensive kid’s play sand). 2) Wood ash – I get the ash from my wood stove and take out the larger charcoal pieces with a cat litter scooper. 3) Soil – If you are purchasing soil, make sure it is fertilizer, chemical and vermiculite free. 4) Diatomaceous Earth Make sure it is FOOD -GRADE and not for use in pools. The bag MUST read For LIVESTOCK FEED. See more on Diatomaceous Earth in on following page.
Add equal parts of each ingredient to the mixture and top up when necessary. You will know that your hens are using the dust bath if:
3) They are free ranging and suddenly shake from comb to feet and a cloud of dust emerges around your hen.
So……before it gets too cold or your chickens destroy your prized petunias, why not make them a dust bath. They’ll thank you with being vermin free and consistently giving you all the eggs that they are capable of laying.
What Kind of Dirt is Best for a Chicken Dust Bath?
Birds clean themselves and get rid of mites and lice by taking dust baths. Chicks don’t bathe in water; instead, they dig in dirt, sand, or dust to keep their feathers clean and their skin healthy. As a chicken owner, you should make sure your flock has a good place to dust bathe. What is the best type of dirt or base for a chicken dust bath?
The Basics of Chicken Dust Baths
Chickens instinctively know they need to dust bathe regularly. In the wild, they would dig shallow pits in loose soil and then toss, flap and roll in the dirt to get it deep under their feathers. The dust bath dirt exfoliates their skin, removes dead skin cells and knocks off external parasites After their bath, chickens do a little feather preening to get fully clean.
Giving your chickens a designated place to take a dust bath serves two purposes. For starters, it gives your flock what they need to stay clean and healthy. Second, chickens won’t be able to damage your garden or landscaping because they can’t use them as makeshift baths.
Chickens prefer fine, loose substrates that aren’t muddy. Materials like sand, wood ash, peat moss, garden soil and diatomaceous earth work well. The ideal dust bath filler is dry, powdery and just a few inches deep.
6 Recommended Dust Bath Substrates
Here are six types of dirt, sand, or dust that are great for making your own chicken dust bath:
- Sand
Sand makes an excellent dust bath substrate. Play sand or course builder’s sand can be used to remove dead skin cells and other parasites from the skin. Sand also keeps the bath from getting waterlogged. Adding sand to any dust bath mix will help it drain better and remove dead skin.
- Garden Soil
Plain old dirt from your yard or garden can work perfectly fine as a standalone dust bath substrate. Just avoid soils with high clay content, as they will turn into a mud pit. Sandy, loamy soils are best for maintaining a loose, dry consistency.
- Peat Moss
Peat moss is a great addition or alternative to garden soil in a dust bath. It’s absorbent yet fluffy when dry. Peat moss provides a soft, fine and comfortable dust bath. It’s also affordable and available at any garden center.
- Wood Ash
Wood ash from stoves, fireplaces or burn piles makes an excellent dust bath ingredient. It helps to control external parasites and insects on chickens. Make sure the ash is completely cooled before adding to your chicken’s bathing area.
- Diatomaceous Earth
Diatomaceous earth (DE) is a soft, chalky powder made from fossilized algae. It can help control mites, lice and other external parasites through microscopic abrasion. Food-grade DE is considered safe for chickens. Avoid DE products made for pool filters.
- Dried Herbs
Dried herbs add pleasant aromas to a dust bath and can help repel pests. Some chickens even nibble on the herbs while dust bathing. Good choices include lavender, mint, oregano, thyme and sage. Buy dried herbs or dry your own by hanging bundles to air out.
Setting Up Your Chicken Dust Bath Area
To create a dust bath area, fill a container with 2-4 inches of your substrate of choice. Shallow bins, kiddie pools, galvanized tubs and sandboxes all work well. Or you can simply dig a pit and fill it with dust bath material. Place your dust bath in a dry area inside the chicken coop or outdoor run. Add a cover if needed to keep rain or sprinklers off.
Provide at least 2-3 square feet of bath per chicken. Give them enough space to roll and flap around freely. Thoroughly mix ingredients like sand, soil, peat moss and herbs before adding to the bath. Replenish materials as needed to maintain 2-4 inches depth.
Some chickens love to dust bathe together. As highly social creatures, what starts as a solo bath often turns into a dust party once the first chicken starts flipping dirt everywhere!
Getting the Mix Right for Your Flock
There’s no single perfect dust bath recipe. Chickens aren’t picky and will happily bathe in any loose, dry substrate. Feel free to experiment with different dirt mixes to see what your flock enjoys most. Here are some popular dust bath combinations:
- 1 part sand + 1 part peat moss
- 1 part sand + 1 part garden soil
- 2 parts peat moss + 1 part wood ash
- 2 parts sand + 1 part diatomaceous earth
If you use garden soil, amend heavy clay blends with peat moss or sand to prevent clumping when wet. Always add sand for its exfoliating properties. Supplement any mix with small amounts of wood ash, diatomaceous earth or dried herbs.
Let your chickens show you what they like best! Place two small dust baths with different substrates side by side and see which one gets more use. Observe your flock and adjust the mix based on their preferences.
The Right Setup for Healthy, Happy Chickens
Providing a suitable dust bath is one of the joys of chicken keeping. Your flock will happily roll around in their dirt pit, amusing you while keeping themselves clean and pest-free. Choose a generously sized container and fill it with 2-4 inches of an absorbent, abrasive substrate like sand or peat moss. Supplement with wood ash, diatomaceous earth or dried herbs. Give your chickens enough room to bathe together. Keep their dust bath sheltered from the elements to maintain a dry, fluffy mix. With the right setup, you’ll have healthy chickens and an entertaining addition to your backyard flock.
Stepping Back To A Simpler Time!
Don’t take a shower or bath every day! A hen that wants to stay healthy and smell good needs to take a dust bath every so often. Chances are if your bird stinks she does not have access to a dust bath and if she doesn’t have access to a bath, the probability is higher that your flock will carry lice and mites.
For those of you that have watched chickens dust bathing, I think you will agree that it is not only comical, but shows your hens in the utmost state of contentedness. During the act of dust bathing, chickens will do their best to get as much “dirt” as they can all over their bodies down to the base of their feathers. This in turn actually cleans the chicken (see ingredients below) and will asphyxiate any pests that may potentially prey on them.
If you let your hens free range and DON’T provide a dust bath in the coop/run, I guarantee that they WILL make a dust bath where your favorite plants are growing. If you do not let your hens free range, or they are limited to free ranging because of Winter conditions, than it is essential that they have access to a dust bath. The need is ingrained in their behavior and essential to their personal health. So…… why not build a dust bath in your chicken run?.
In order to get started, you will need a container for the dust bath. I only have 3 hens and an old apple crate that is around 12 “deep, 15″ wide and 24” long works well for this application. If you have a larger flock, you will need a larger container. I’ve seen kiddy pools used for this purpose and they appear to work well.
Next, you are going to need to fill the dust bath with 4 essential ingredients. The 4 ingredients that you will need are:
1) Builder’s sand (don’t waste your money on the more expensive kid’s play sand). The ash from my wood stove is what I use. I use a cat litter scooper to get out the bigger pieces of charcoal. 3) Soil – If you are purchasing soil, make sure it is fertilizer, chemical and vermiculite free. 4) Diatomaceous Earth Make sure it is FOOD -GRADE and not for use in pools. The bag MUST read For LIVESTOCK FEED. See more on Diatomaceous Earth in on following page.
Add equal parts of each ingredient to the mixture and top up when necessary. You will know that your hens are using the dust bath if:
1) You find some of the “bath” contents on the floor of the run.
2) You see them nestled up together in the crate throwing dirt on each other.
3) They are free ranging and suddenly shake from comb to feet and a cloud of dust emerges around your hen.
So……before it gets too cold or your chickens destroy your prized petunias, why not make them a dust bath. They’ll thank you with being vermin free and consistently giving you all the eggs that they are capable of laying.
How to Make a Dust Bath for Your Chickens (With the Right Ingredients)
FAQ
What soil is best for a chicken dust bath?
DUST-BATHING AREAS: Roadside debris often has salt and oil in it, and food-grade diatomaceous earth is bad for both human and chicken health in a number of ways. (read about them here) I recommend plain construction grade sand or clean, dry dirt from the chicken yard.
What is the best mix for a chicken dust bath?
What should I put in the dust bath for my chickens? You should mix fine sand or dry soil, food-grade diatomaceous earth, wood ash from untreated wood, and dried herbs like mint or lavender.
What kind of sand for chicken dust bath homemade?
All-purpose sand, which is also called contractor’s sand, construction sand, or multipurpose sand, is the best kind of sand for chicken dust baths. It’s fine enough for a good fluffabout, but coarse enough that they won’t inhale it. You should be able to find bags of all purpose sand at your local hardware store.
Can I use Quikrete all-purpose sand for chicken dust bath?
No, you want washed construction sand or any course type sand. It’s cheaper to buy it in bulk from a construction or landscaping yard.